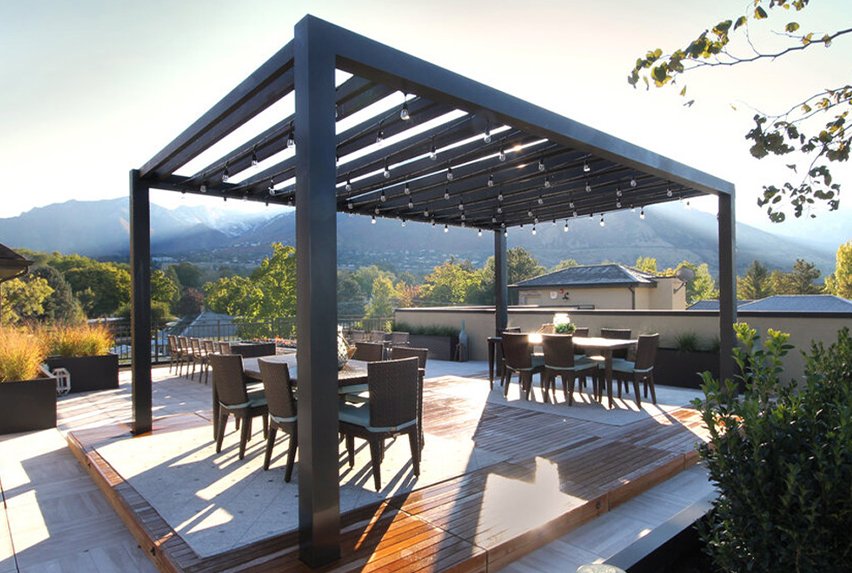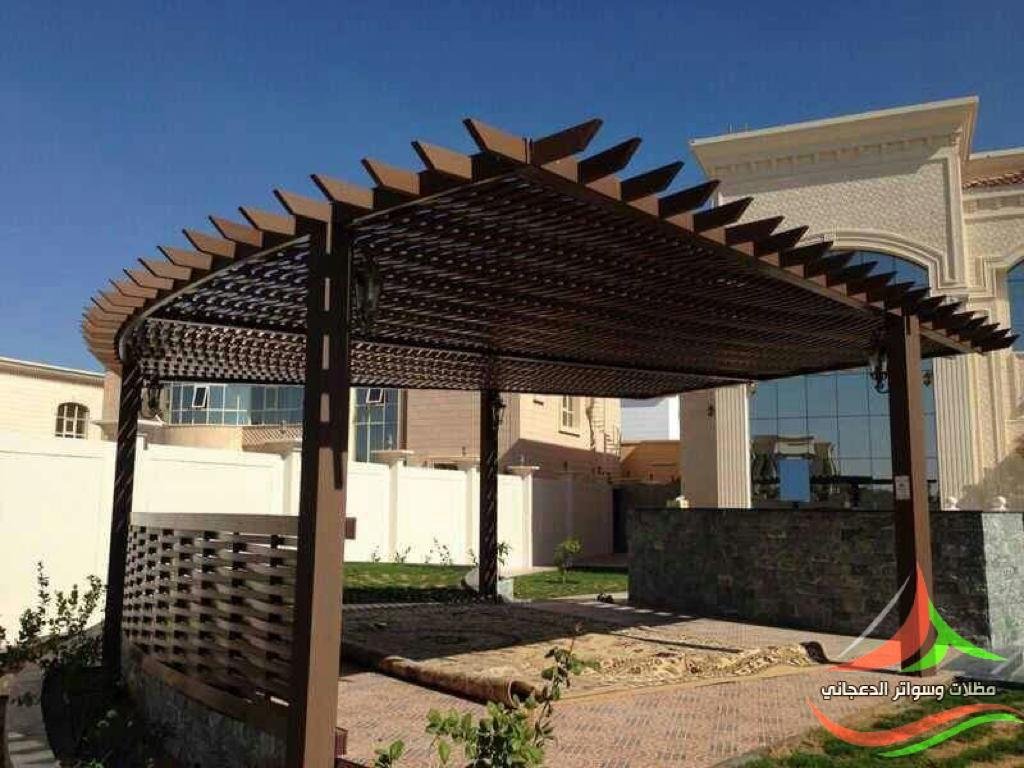


Pergola Installation in your backyard is a worthwhile project that can significantly improve your outdoor space. A pergola is a great addition to any backyard, offering a combination of aesthetic appeal and functional outdoor space. Whether you want to create a shaded area for lounging, dining or a garden feature, a pergola can transform your backyard into a stylish and comfortable retreat. This step-by-step guide to pergola installation will walk you through everything you need to know from planning to completion ensuring a successful, hassle-free project.
Understanding Pergolas
Before delving into the process of Pergola Installation, it is important to understand what a pergola is and its benefits. A pergola is an outdoor structure made up of vertical posts or pillars that support cross beams and an open lattice roof. It can be freestanding or attached to your home, and can serve a variety of purposes, such as providing shade, supporting climbing plants, or defining a specific area in your backyard.
Benefits of Pergola Installation:
- Shade and Comfort: Pergolas provide partial shade, making your outdoor space more comfortable during the hot summer months.
- Improved Aesthetics: A well-designed pergola can enhance the visual appeal of your backyard and add an architectural element that complements the style of your home.
- Increased Property Value: Installing a pergola can add attractive and functional outdoor space to the value of your property.
- Versatility: Pergolas can be customized with lighting, curtains or climbing plants, offering versatility in design and function.
Step 1: Planning Your Pergola Installation
The first step in installing a pergola is careful planning. This step is very important as it will determine the success of your project.
- Determine the Purpose:
- Understand why you want a pergola. Is it shade, an outdoor dining area, a decorative garden element or something else? The purpose will affect the design, size and location of your pergola.
- Choose a location:
- Choose a suitable location in your backyard. Consider factors such as sun exposure, proximity to your home, and the overall design of your outdoor space. If you plan to use the pergola for dining, it may be wise to place it near your kitchen.
3. Measure the Space:
- Measure the area where you plan to install the pergola. This will help you determine the proper size and shape of the structure. Make sure there is enough space for the pergola to fit comfortably without crowding your backyard.
4. Select Content:
Pergolas can be installed with a variety of materials including wood, metal and vinyl. Each material has its advantages and disadvantages:
- Wood: Offers a natural, classic look, but requires regular maintenance to prevent rot and weather damage.
- Metal: Provides a sleek, modern look and is durable, but can be more expensive and may require rust protection.
- Vinyl: Low maintenance and weather resistant, but may lack the natural appeal of wood.
- Check Local Building Codes:
- Before you begin, check with local authorities about any building codes or permits required for pergola installation. Some areas may have restrictions on the height or location of outdoor structures.
Step 2: Gathering the Necessary Tools and Materials
Once you have completed the planning phase, gather all the tools and materials you will need to pergola Installation. Having everything on hand will make the process go more smoothly.
Tools Needed:
- Tape measure
- Surface
- Shovel or post digger
- Drills and bits
- Saw (if cutting wood)
- Hammer or mallet
- Set of keys
- Protective equipment (gloves, glasses)
Materials Needed:
- Pergola kit (if used)
- Wood or metal posts (if built from scratch)
- concrete mix
- Bolts and screws
- Post anchors (if attached to deck or patio)
- Stain or paint (to finish, if necessary)
Step 3: Preparing the Site
Proper site preparation is essential for a stable and long-lasting pergola.
- Clear the Area:
- Remove any debris, grass or plants from the area where you are installing the pergola. Make sure the ground is level.
- Mark post locations:
- Using a stake and string, mark the correct locations for the pergola posts. Check the measurements again to make sure everything is square and aligned.
- Drill holes for the posts:
- Using a shovel or post hole digger, dig holes for the pergola posts. The depth of the holes will depend on the height of the pergola and local building codes, but they are typically between 18 and 24 inches deep.
Step 4: Pergola Installation Posts
Posts are the foundation of your pergola, so installing them correctly is essential.
- Set posts:
- Place the posts in the holes you have dug. Use a level to make sure each post is perfectly vertical.
- Pouring concrete:
- Mix concrete according to manufacturer’s instructions and pour it into the holes around the posts. Make sure the posts remain level while the concrete sets. Let the concrete cure for at least 24 hours before proceeding to the next step.
- Trim the posts:
- After the concrete has cured, check the height of each post. If any posts are too tall, use a saw to trim them to the desired height.
Step 5: Pergola Installation Beams and Rafters
With the posts in place, you can now install the horizontal beams and rafters that will form the roof of your pergola.
- Fix the beam:
- Start by placing the main support beam on top of the posts. These beams will run parallel to the length of the pergola. Use bolts or screws to secure them firmly in place.
- Install the beams:
- Place joists along the joist, spacing them evenly. The beams will provide shade and add character to your pergola. Secure each beam with screws or bolts.
- Add Decorative Elements (optional):
-
- If desired, add decorative elements such as curved rafter tails or lattice panels to enhance the appearance of your pergola.
Step 6: Securing and Finishing the Pergola Installation
Once the structure is complete, it’s time to secure and finish your pergola installation.
- Secure the Structure:
- Double check all bolts, screws and connections to make sure everything is tight and secure. This will prevent any movement or instability.
- Apply stain or paint:
- If you are using wood, apply a stain or protective paint to protect the pergola from the elements. This step will also improve the visual appeal of the structure.
- Install optional features:
- Consider adding features such as outdoor lighting, shades or a retractable canopy to make your pergola more functional and comfortable.
Step 7: Landscaping Around Your Pergola
To truly integrate your pergola into your backyard, consider landscaping around it.
- Plant Climbing Vines:
- Pergolas are ideal for supporting climbing plants such as wisteria, ivy or roses. Over time, these plants will grow over the pergola, providing additional shade and a green, natural aesthetic.
- Create a route:
-
- Consider adding a stone or gravel path leading to your pergola, improving the overall design and making the space more accessible.
- Add outdoor furniture:
-
- Furnish your pergola with comfortable outdoor seating, a dining table or armchairs to create a cozy space for relaxing and entertaining.
4. Install Outdoor Lighting:
- Garlands, lanterns or recessed lighting will allow you to enjoy your pergola in the afternoon, creating a cozy atmosphere.
Step 8: Maintaining Your Pergola
Proper maintenance is key to ensuring that your pergola remains in good condition for many years.
- Periodic cleaning:
- Clean your pergola regularly to remove dirt, debris and mold. Use a soft brush and mild soap to clean wood pergolas, and use a hose or pressure washer for metal or vinyl structures.
2.Inspect for damage:
- Periodically inspect your pergola for signs of wear or damage. Loose screws, cracks in wood, or rust on metal parts and repair as necessary.
- Reapply Stain or Paint:
-
- If you’ve used wood, reapply stain or paint every few years to protect the wood from moisture, UV rays, and pests.
Conclusion
Pergola installation in your backyard is a worthwhile project that can significantly improve your outdoor space. By following this step-by-step guide to pergola installation, you’ll be able to create a beautiful, functional area that complements your home and provides a comfortable place for guests to relax, dine, or entertain. With proper planning, careful installation, and regular maintenance, your pergola will become a favourite feature of your backyard for years to come.